
Turn your animal and vegetable scraps into liquid gold by making homemade bone broth! It’s one of the most nourishing foods you can consume, it’s easy and affordable to make, and it’s excellent for boosting nutrition in endless recipes (some would even surprise you!).

As a nurse, I often get asked what is the best and most nutritious food to consume.
Hands down, it’s bone broth.
Not only is bone broth healing and medicinal, but it’s also delicious, comforting, and a foundational ingredient in some of my most cherished recipes.
Although many companies sell bone broth in stores today, the processed, shelf-stable versions do not stand a chance in comparison to homemade bone broth in terms of flavor, nutrients, or affordability.
Because I make my bone broth at home, it has been well over two years since I have purchased broth of any kind, and I’ll never go back.
If you’ve ever thought about making bone broth at home, consider this your sign to give it a try. In my recipe, I show you how effortless it is to make and use your homemade bone broth, but more importantly, I highlight on how this liquid gold can change your health.
What Is Bone Broth?
Bone broth is a flavorful, nutrient-dense liquid made from simmering animal bones for an extended period.
Traditionally made by our ancestors, cooking bone broth was a way of extracting nutrients from the animal parts that were otherwise difficult to consume.
This cooking method also ensured that no parts of the animals went to waste. Throughout history, bone broth has become a staple in almost every culture and traditional diet.
Bone broth can be made from the bones of any animal, but most commonly uses beef, chicken, turkey, pork, or lamb bones. It’s optional to add vegetables and herbs to the broth to enhance the flavor and add even more nutrients.
Because it cooks for an extended period, its nutrients are easily and efficiently absorbed through your gut, making bone broth the ultimate food to nourish and heal your body.
What Are the Health Benefits of Bone Broth?
Bone broth is one of the most nourishing superfoods you can consume. Our ancestors had it right all along. It’s called nature’s multivitamin for a reason, and there’s not an organ in the body that doesn’t benefit from it. It contains a wide array of nutrients that have a holistic effect on our bodies, but a few stand out as being the most beneficial.
Collagen + Gelatin
Bone broth is one of the best natural sources of collagen and gelatin, which are proteins that help form our connective tissues, such as bones, skin, cartilage, ligaments, and tendons. The animal bones and parts used to make bone broth also contain high amounts of these vital proteins.
As the broth simmers, the animal collagen and gelatin leach out of the bones and into the broth, making it easy for our bodies to absorb and use.
Think of collagen and gelatin (a broken-down form of collagen) as the Jell-O that cushions our joints, holds our bones together, and allows them to glide smoothly.
As a natural part of aging, we begin to lose our collagen as evidenced by arthritis, joint pain, and decreased mobility. However, it is proven that consuming collagen can reduce your risk of joint deterioration and discomfort.
With collagen being the most abundant protein in our body, it is also largely responsible for our skin’s health and appearance.
As we age, we begin losing the collagen in our skin. However, new research suggests that those who consume more collagen experience more supple, moisturized skin and less wrinkling.
Studies have also shown that gelatin and collagen effectively heal our gut by decreasing inflammation, promoting good bacteria growth, and strengthening our intestinal wall lining.
Amino Acids
Bone broth is packed full of amino acids, which are the building blocks of our body’s proteins that serve infinite functions throughout the body. From supporting and maintaining our bones, muscles, and joints, to decreasing inflammation and enhancing wound healing, amino acids do it all.
There’s a reason why chicken soup is the go-to remedy for sickness. The amino acids present in the chicken stock are proven to boost your immune system and reduce inflammation in your respiratory tract.
When you drink bone broth, you support your body with several beneficial amino acids.
- Glycine acts as a powerful antioxidant to decrease inflammation and strengthen the gut lining.
- Arginine improves circulation, lowers blood pressure, and supports healthy metabolism.
- Proline helps build the collagen protein that supports joint, skin, and digestive health.
- Glutamine supports the gut lining, boosts the immune system, and helps remove metabolic waste.
Electrolytes + Minerals
Bone broth is rich in electrolytes and minerals, such as potassium, sodium, calcium, magnesium, and phosphorus. These minerals are extracted from the bones during the long cooking process, and once in liquid form, they become exceptionally easy for our bodies to absorb and use.
These minerals play a vital role in almost every part of our body, from balancing our hydration and strengthening our immune system to supporting our bone density and regulating muscle functioning.
Think of bone broth as the best electrolyte drink for when you’re feeling under the weather.
Glycosaminoglycans
Glyco…what? In English, please.
Glycosaminoglycans are complex carbohydrates naturally occurring in the body that have unlimited functions. You likely have heard of them as pricey over-the-counter supplements for joint or skin health, but you can receive all their benefits simply from consuming bone broth.
A few beneficial glycosaminoglycans found in bone broth include glucosamine, chondroitin, and hyaluronic acid.
- Glucosamine plays a major role in constructing different parts of your joints: cartilage, tendons, ligaments, and synovial fluid. It helps keep joints soft and flexible, and because it’s a natural anti-inflammatory, it has the potential to reduce joint swelling and discomfort.
- Chondroitin is mainly responsible for stimulating the regeneration of cartilage and maintaining our body’s natural shock absorbers. Those that have taken chondroitin have reported decreased joint swelling and diminished arthritis pain.
- Hyaluronic acid promotes the growth of new cells and tissues mainly in our joints, eyes, and skin. Although it’s often applied topically on the skin, oral consumption of hyaluronic acid can suppress wrinkle formation and improve skin condition.

How Can I Use Bone Broth?
- Simply sip warm bone broth from a mug (add salt and pepper to taste)
- Use it in any soup or stew that calls for broth or stock
- Swap water for bone broth any time you’re cooking rice, pasta, or grains (quinoa, lentils, barley)
- Use as a base in flavorful sauces like gravy or roux
- If you’re feeling a little adventurous, try a bone broth latte or hot chocolate
Equipment You May Need
Ingredients
- Bones (beef, chicken, pork, turkey, lamb) – You can purchase “soup bones” or save and use the bones from previously cooked animal parts. I almost always save the bones and any other animal scraps in a gallon-sized zip lock bag in the freezer. Once the bag is full, I use the contents to make a batch of bone broth.
- Vegetables or vegetable scraps enhance the flavor and add even more nutrition, but are completely optional. Just like with the bones, I keep a gallon-sized zip lock bag of veggie scraps in the freezer and use them in my broth.
- Herbs (optional) add even more flavor and boost the health benefits of the broth as herbs are nature’s medicine. I always save the stems of thyme, rosemary, or parsley, and add them in the pot.
- Half of a lemon (optional) helps with the acidity content to help break down the bones and also adds a bright, fresh flavor. Also, the peel contains limonene, which is a strong antioxidant and high in vitamin C.
- Apple cider vinegar assists in breaking down the bones, making the minerals, collagen, and gelatin more abundant in the broth. I prefer the fruity taste of apple cider vinegar, but you can also use white vinegar or lemon juice.
- Water – enough to completely submerge your bones, usually around 12 cups.

How To Make Bone Broth
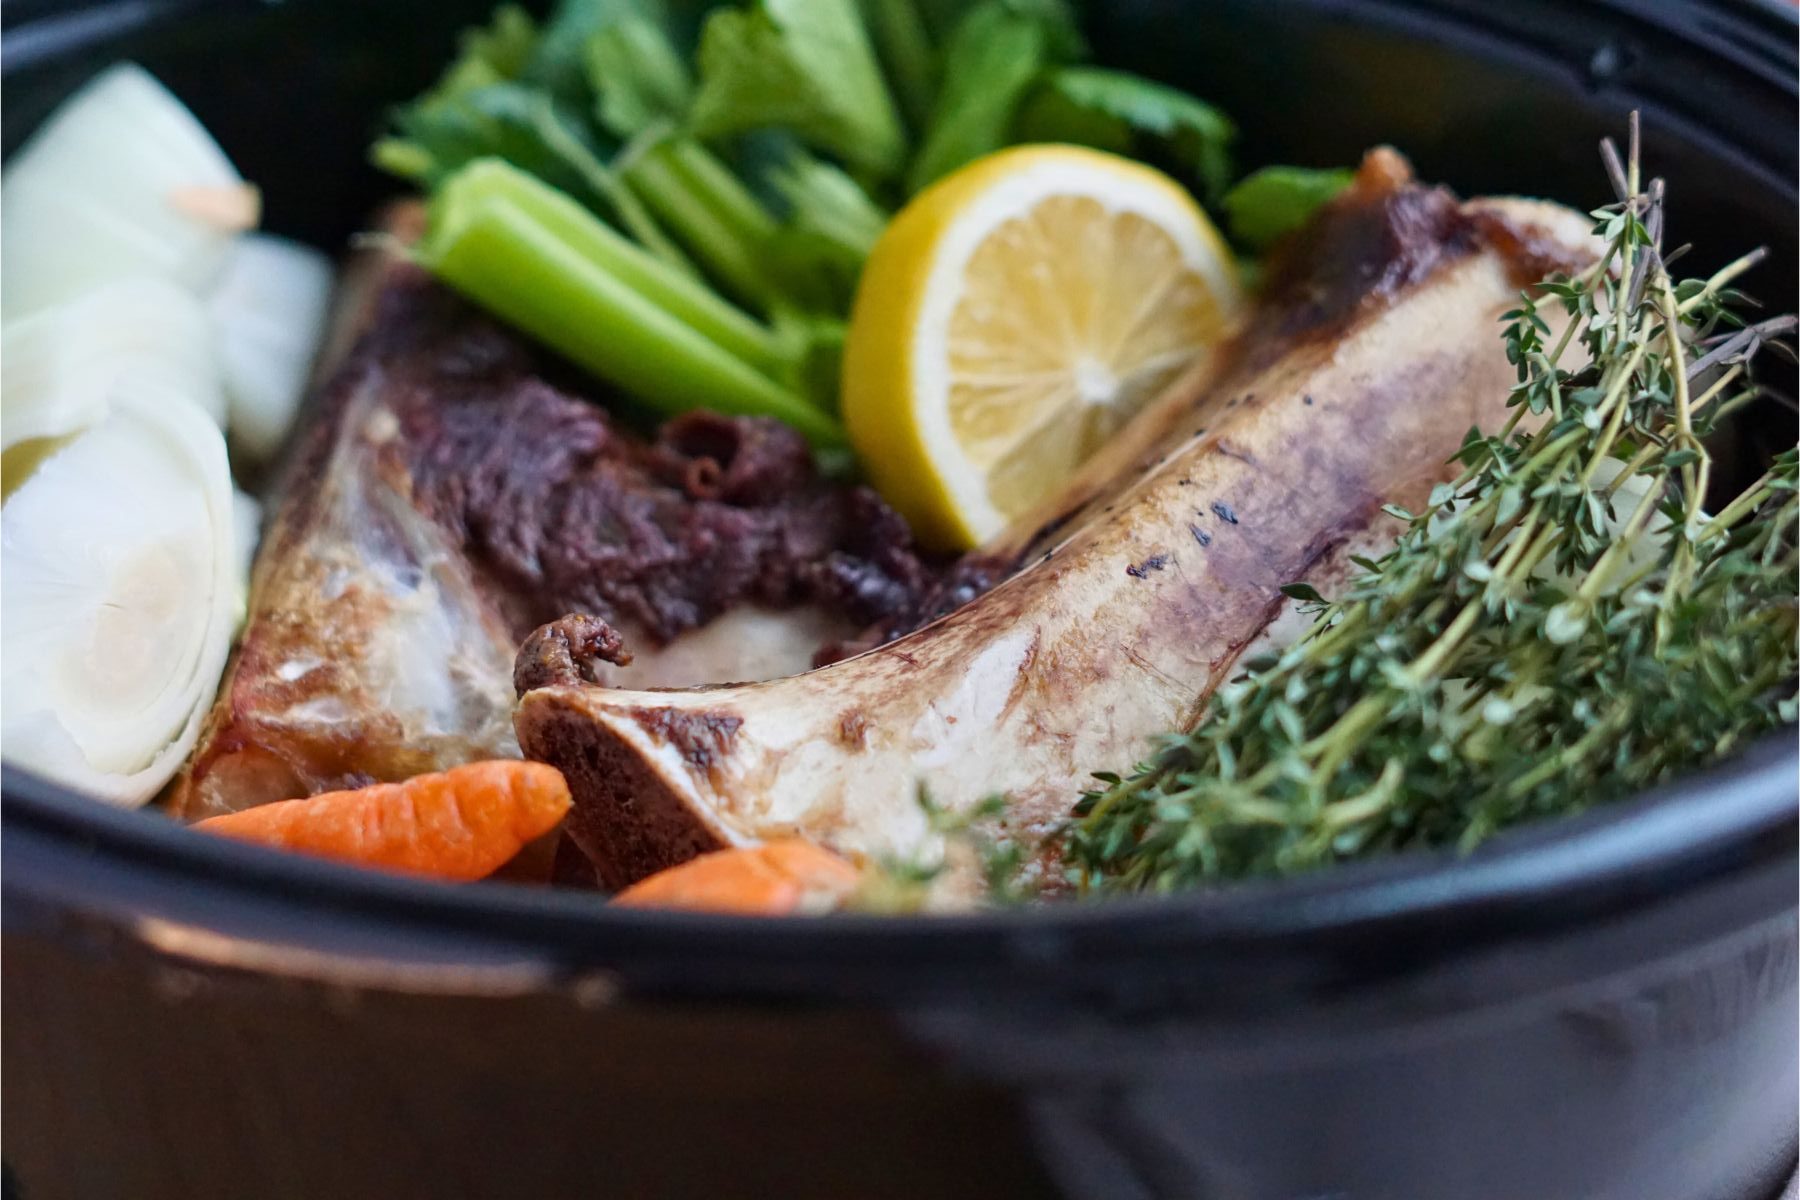
Making bone broth can be as simple or as complicated as you’d like it to be. It’s one of the reasons why it’s so great! To keep it simple, save and use all the bones and scraps from previously cooked animal parts. If you want your broth super high in collagen or protein, seek out high-quality broth bones. These include chicken feet, oxtails, beef marrow bones, or beef knuckles.
Give yourself 12-24 hours (or up to 48 hours if you’d like) to make this broth. The longer it cooks, the more intense the flavor gets and the more nutrients it contains.
1. Blanch + roast the bones (optional step – recommended for raw beef bones)
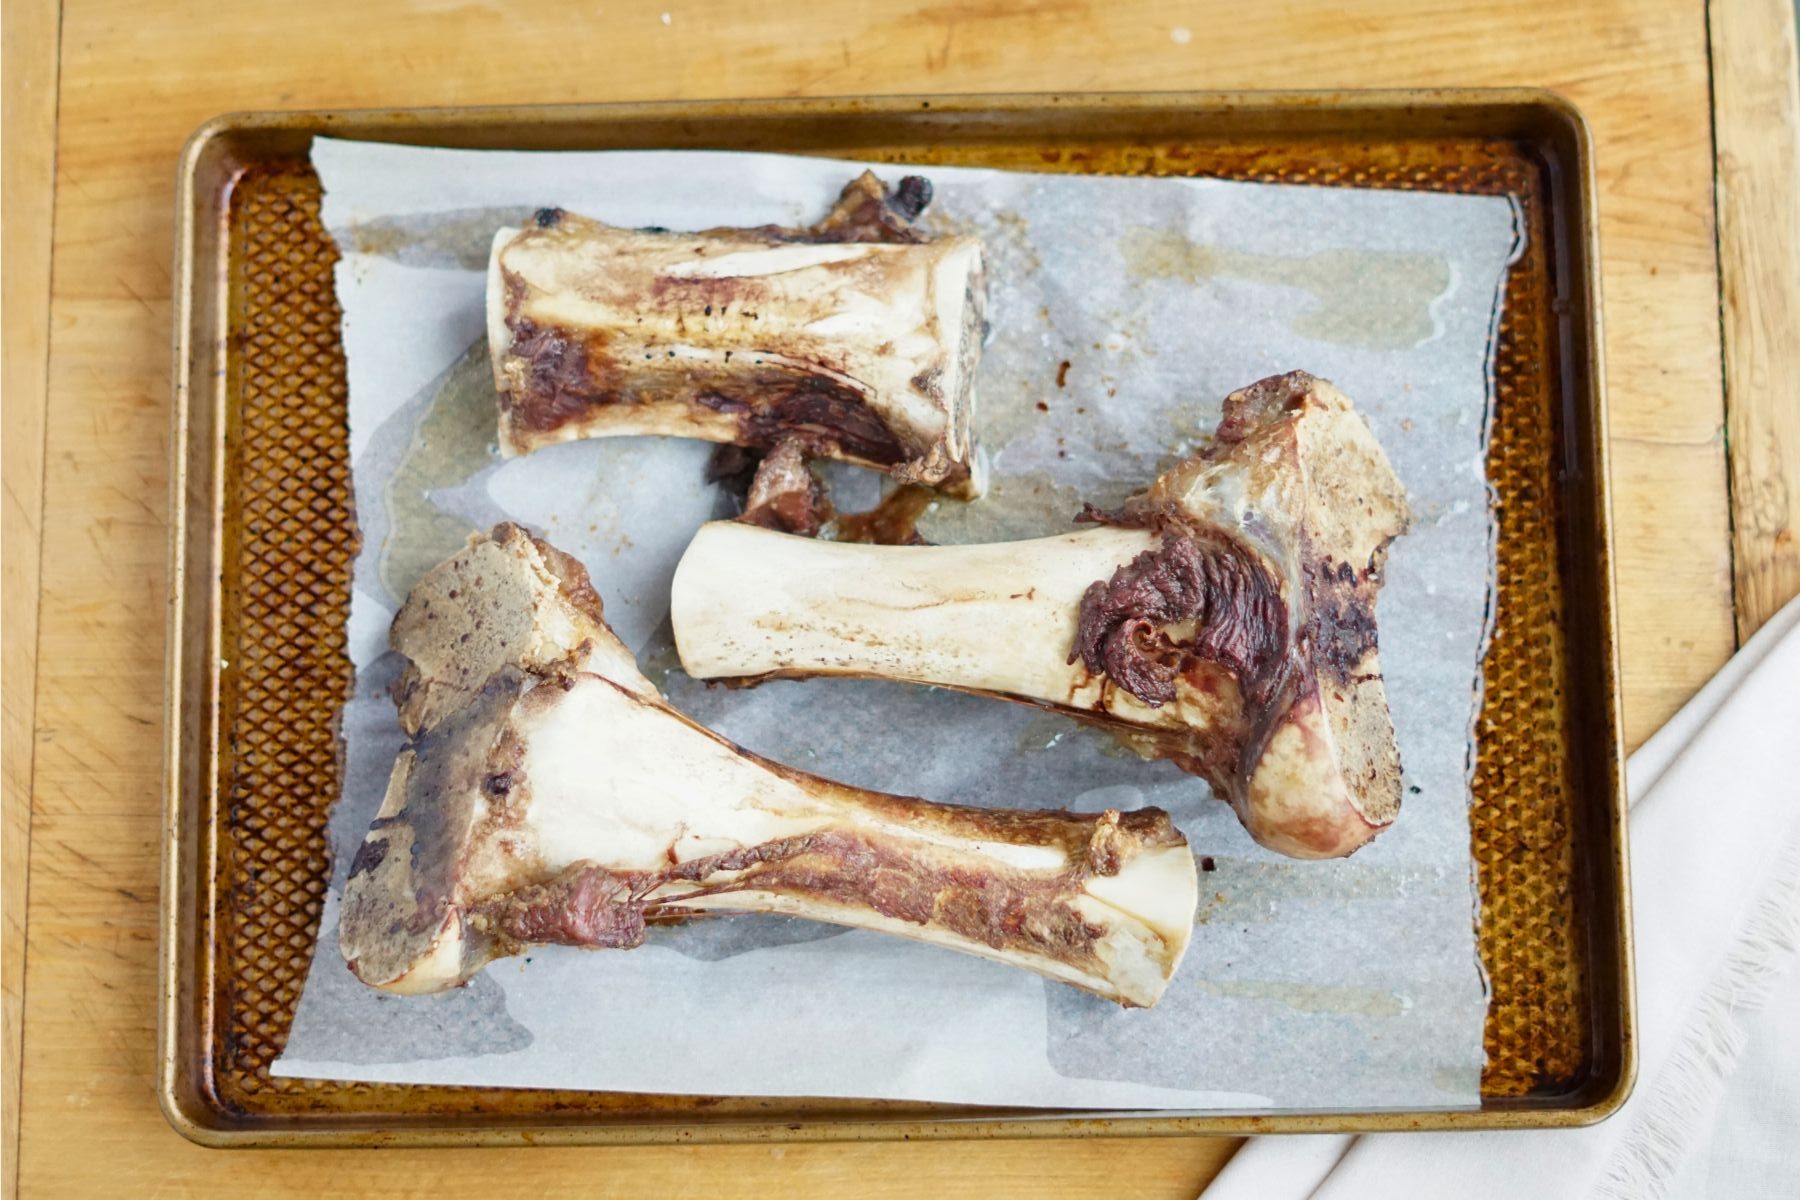
Place your raw beef bones in a pot and add enough water to completely submerge the bones. Bring the pot to a boil over high heat and boil for 10 minutes to remove any blood and impurities. This step helps to give you a cleaner, better-tasting broth.
Remove from the heat, drain, and rinse with fresh water. Add your bones to a baking sheet and roast in the oven at 450°F for 30 minutes, turning them halfway through. Roasting helps to caramelize the bones, which adds a depth of flavor to the broth.

2. Combine all ingredients into a pot or slow cooker.
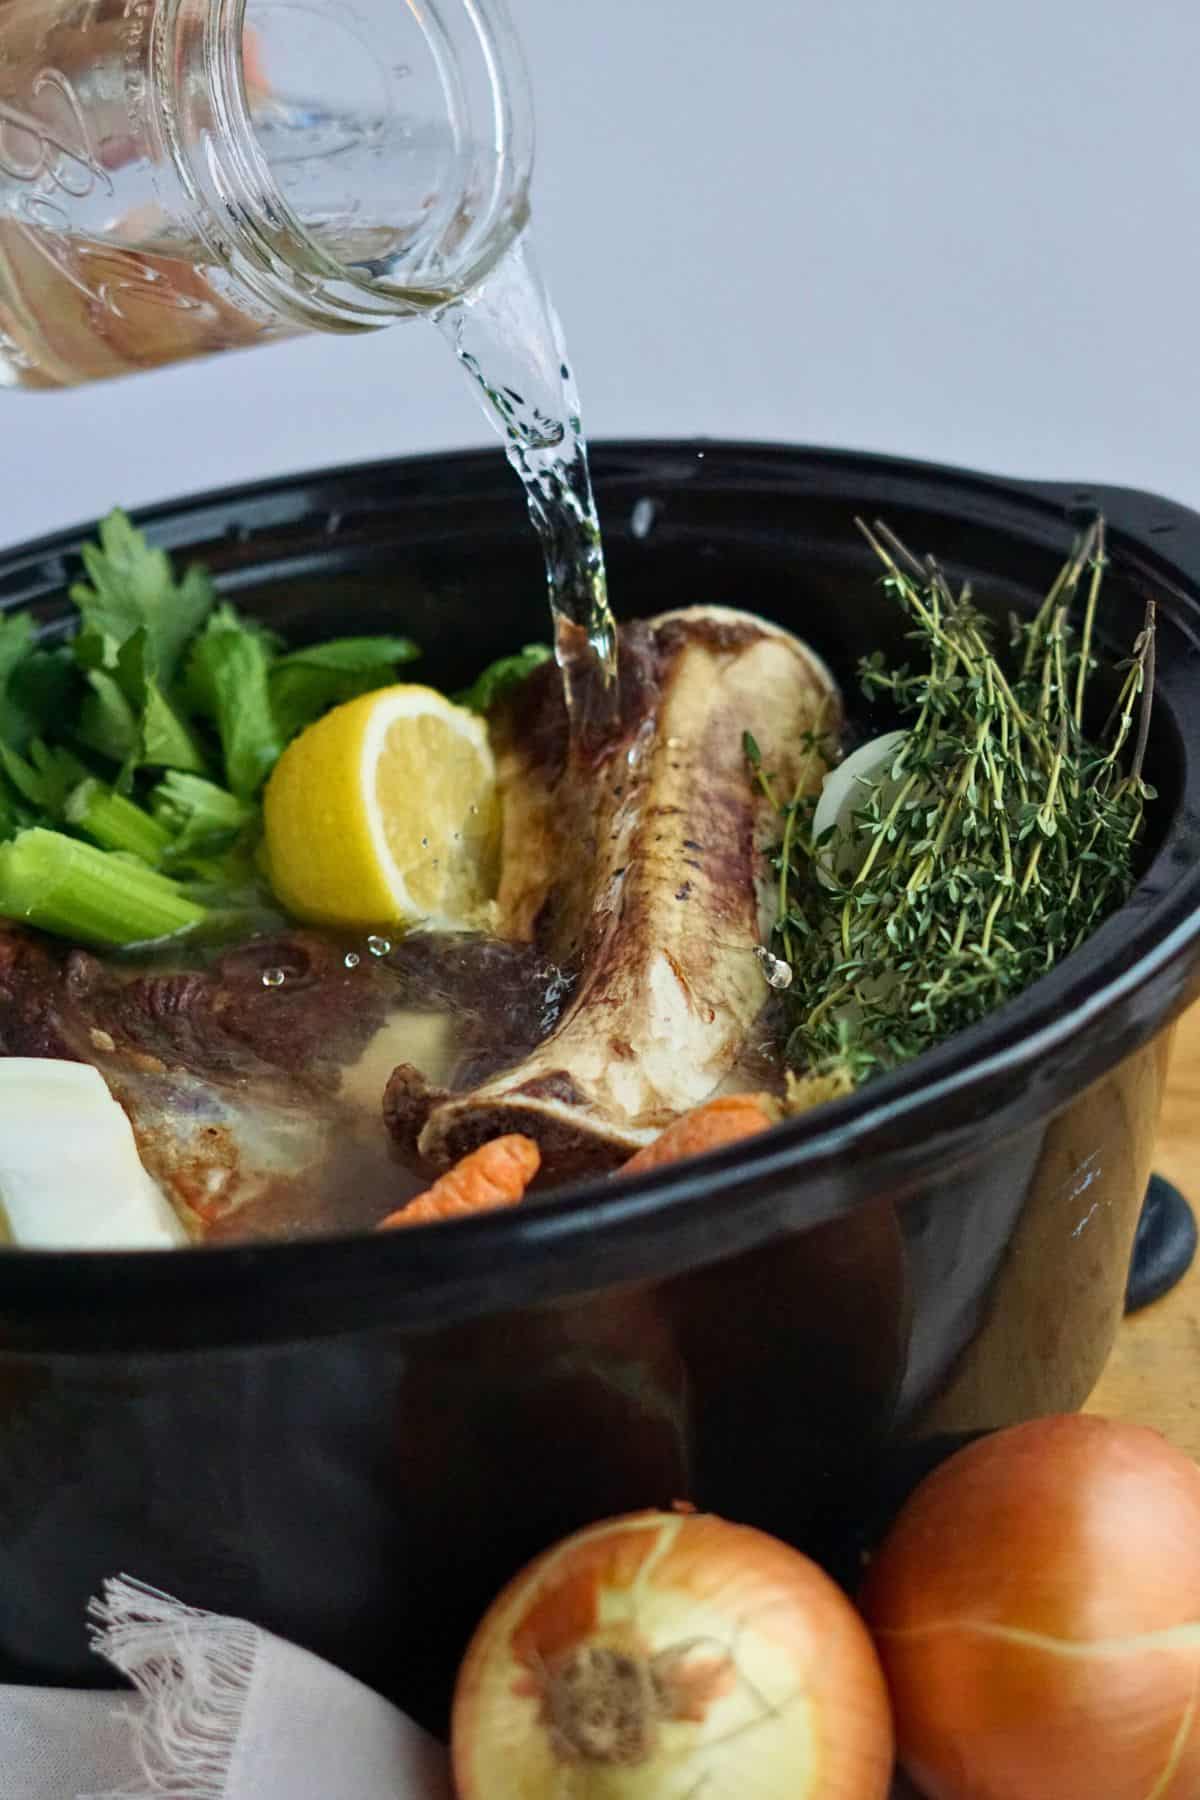
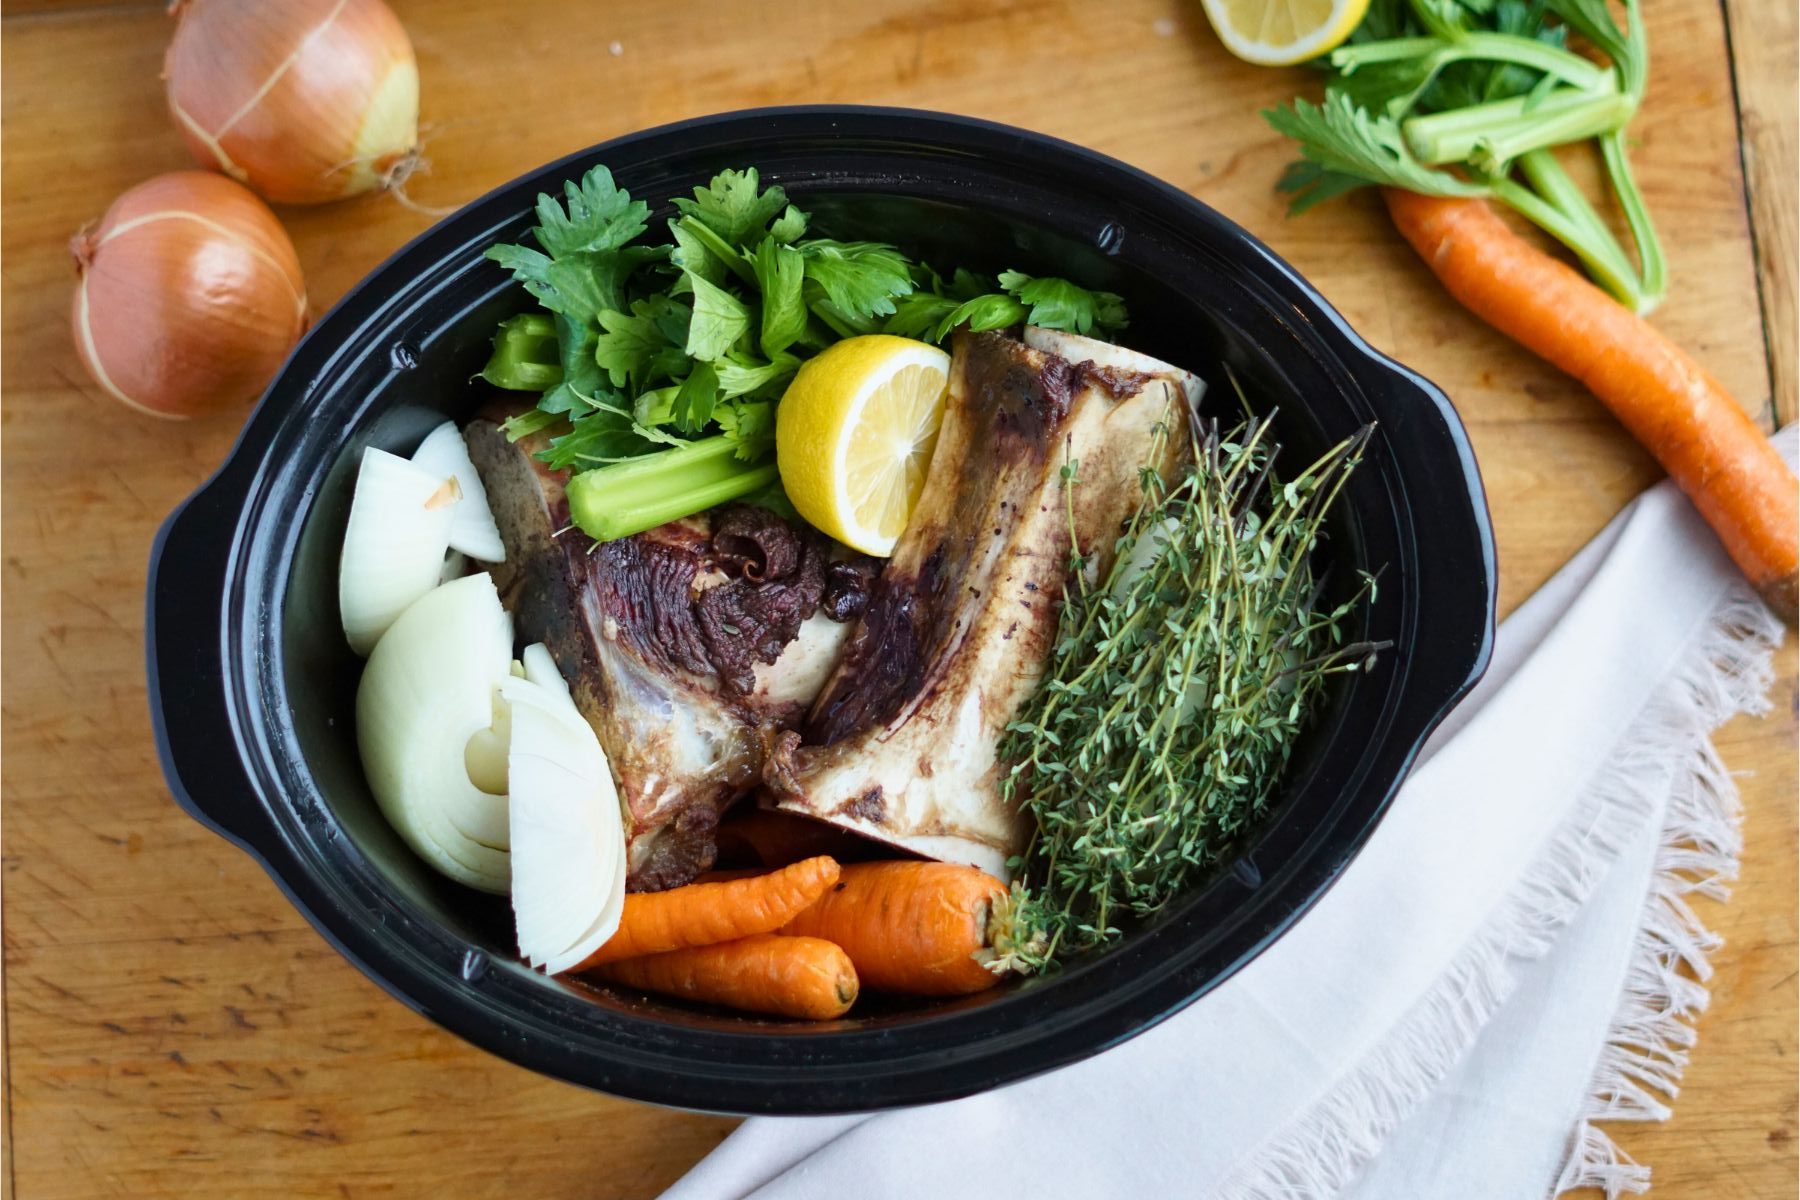
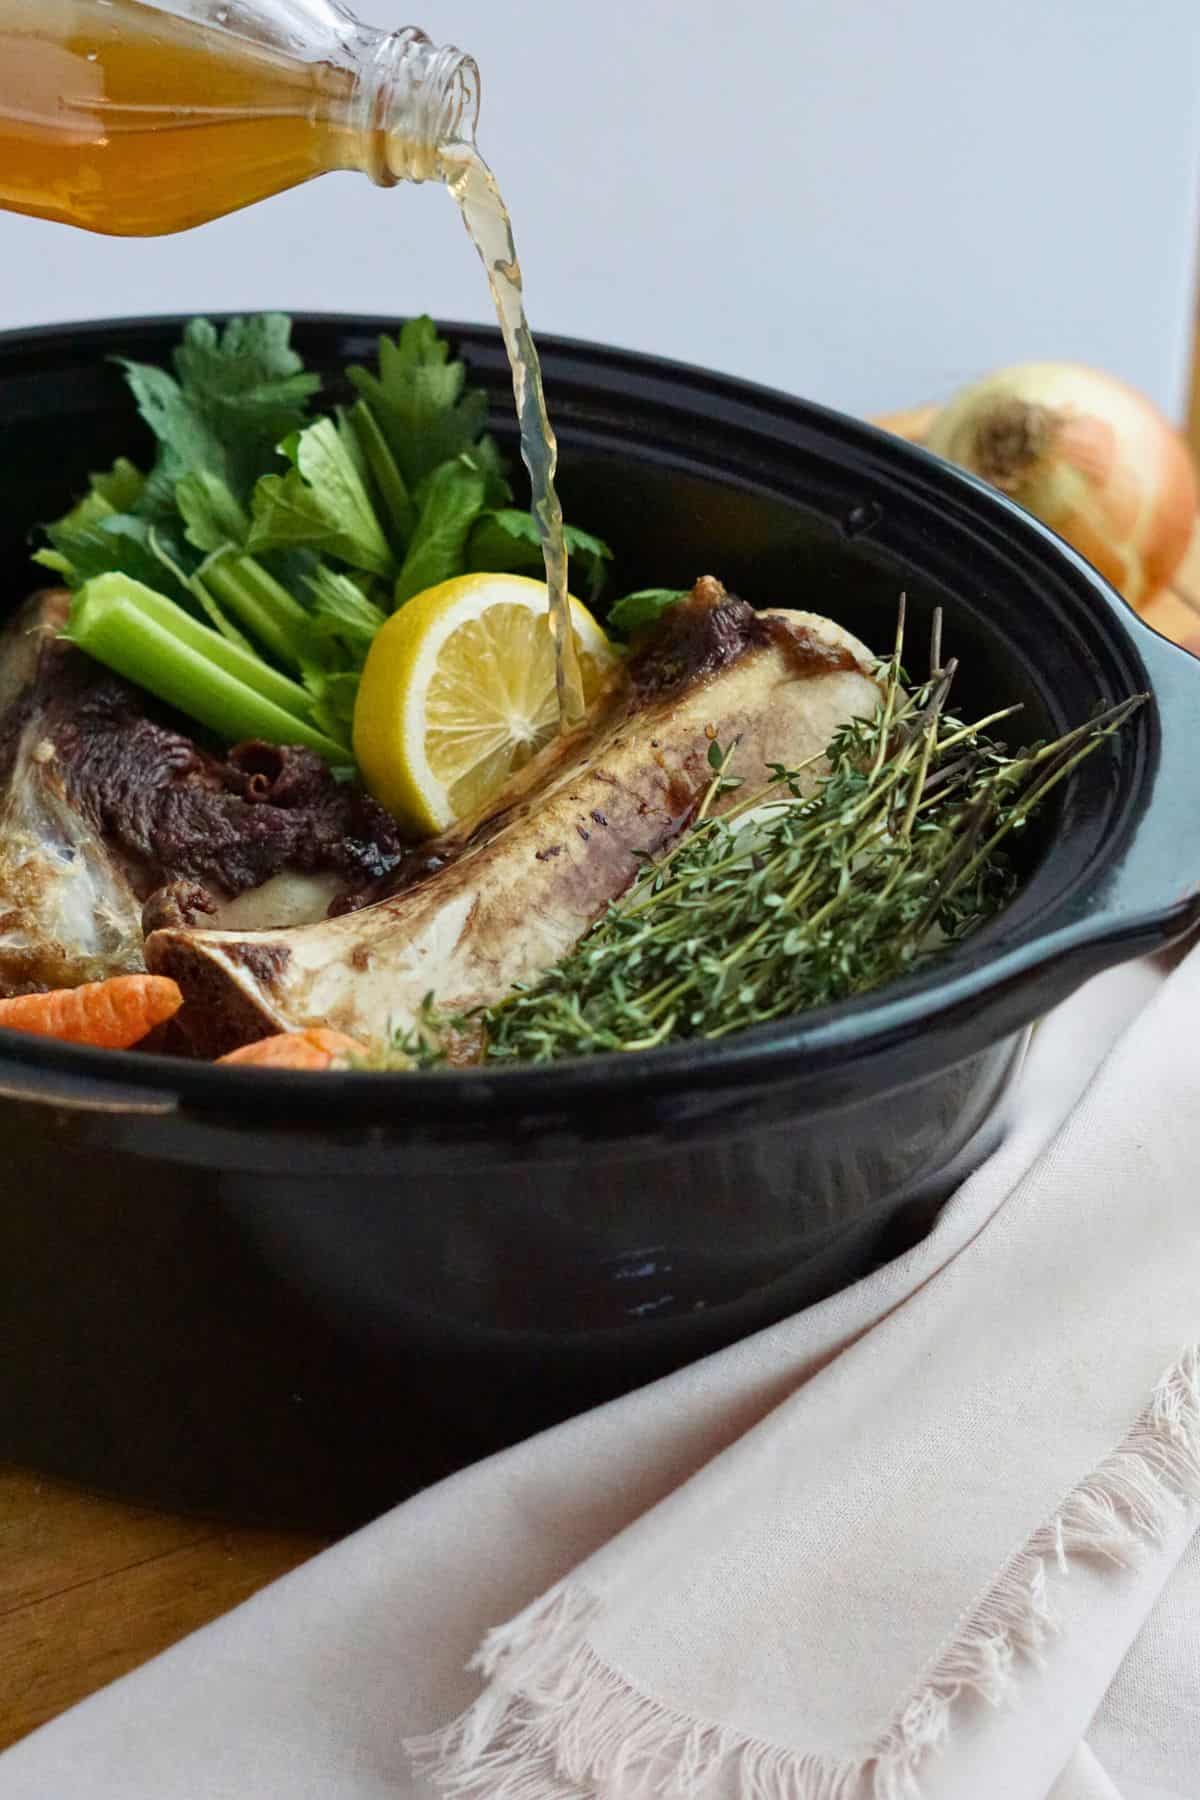
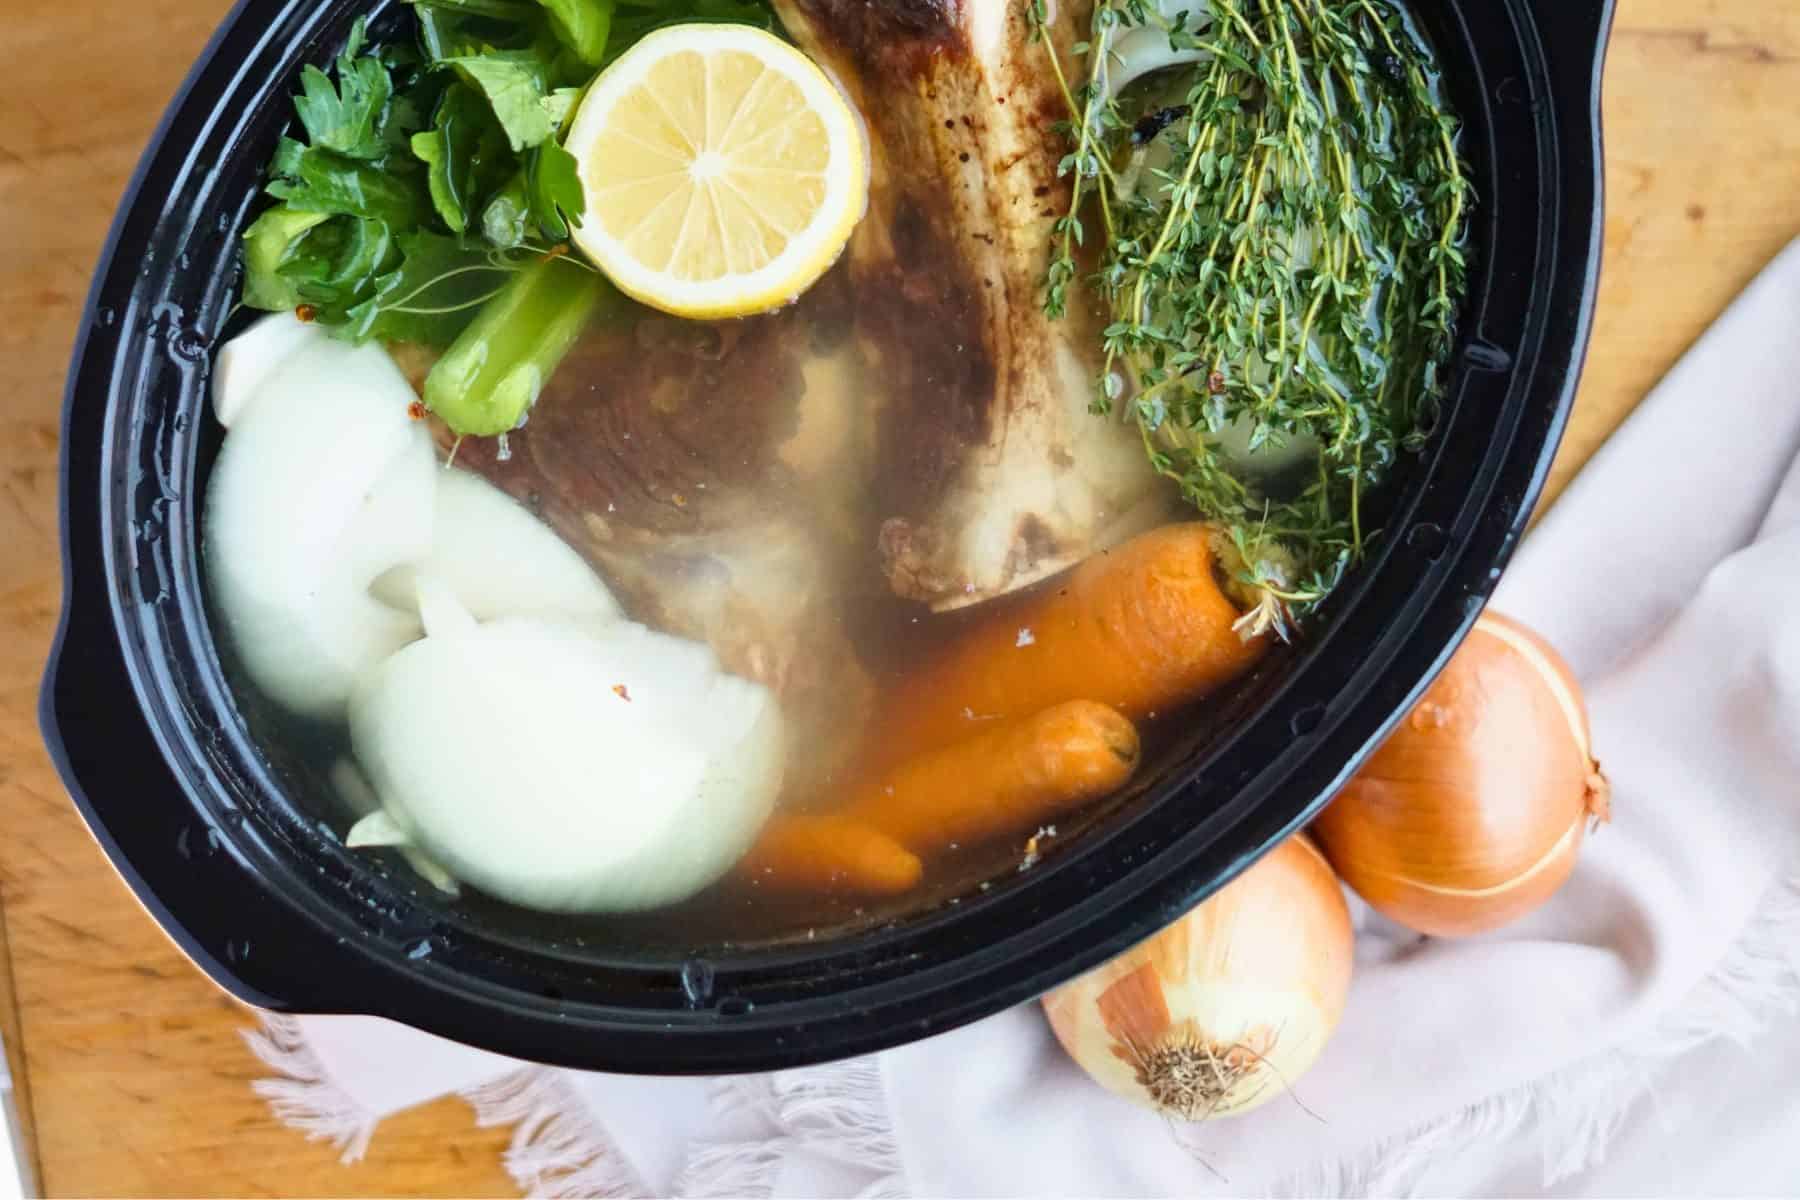
Add the bones, vegetables, herbs, and half of a lemon to a large pot or slow cooker. Add a splash of apple cider vinegar and enough water to submerge all the ingredients (typically about 12 cups).
3. Let it cook low + slow.
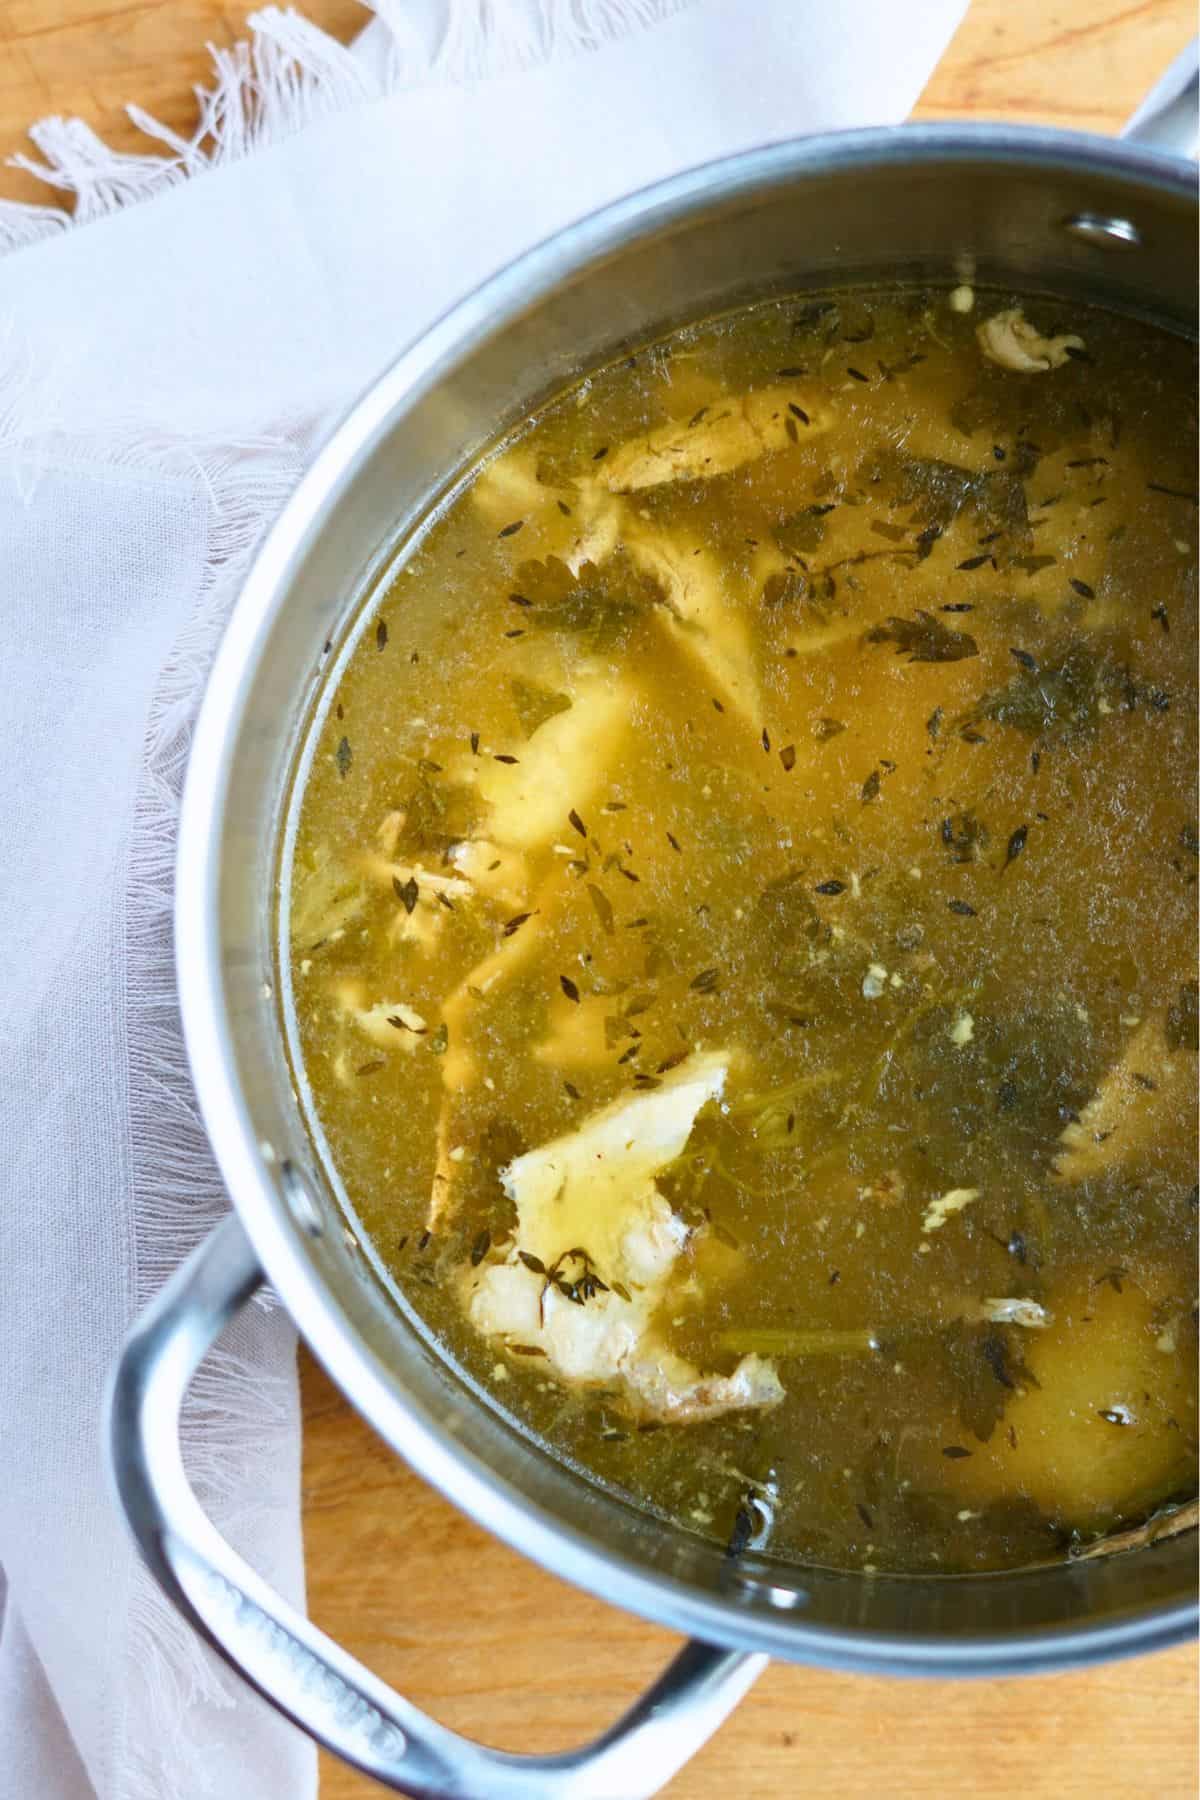
Whether in a slow cooker or a pot on the stove, pop on the lid and set the heat to low. Allow the ingredients to simmer low and slow for 12-24 hours.
Check on the broth from time to time and make sure you have a gentle simmer going. Sample it periodically to taste how the flavor changes as it cooks. The longer it cooks, the more intense the flavor gets and the more nutrients it contains.
It will reduce slightly over time, but if it ever reduces by more than half, add a few cups of water to cover the bones again. Then, turn your heat down a bit and continue to cook until you reach your desired flavor.
If you’re cooking in a pot on the stove and you’re hesitant to leave it simmering overnight, no worries. Remove the pot from the heat and allow it to cool to room temperature. Then store it in the pot in the fridge overnight.
The following morning, bring the pot back to a boil, then reduce the heat to low to resume simmering.
4. Strain + store your broth.
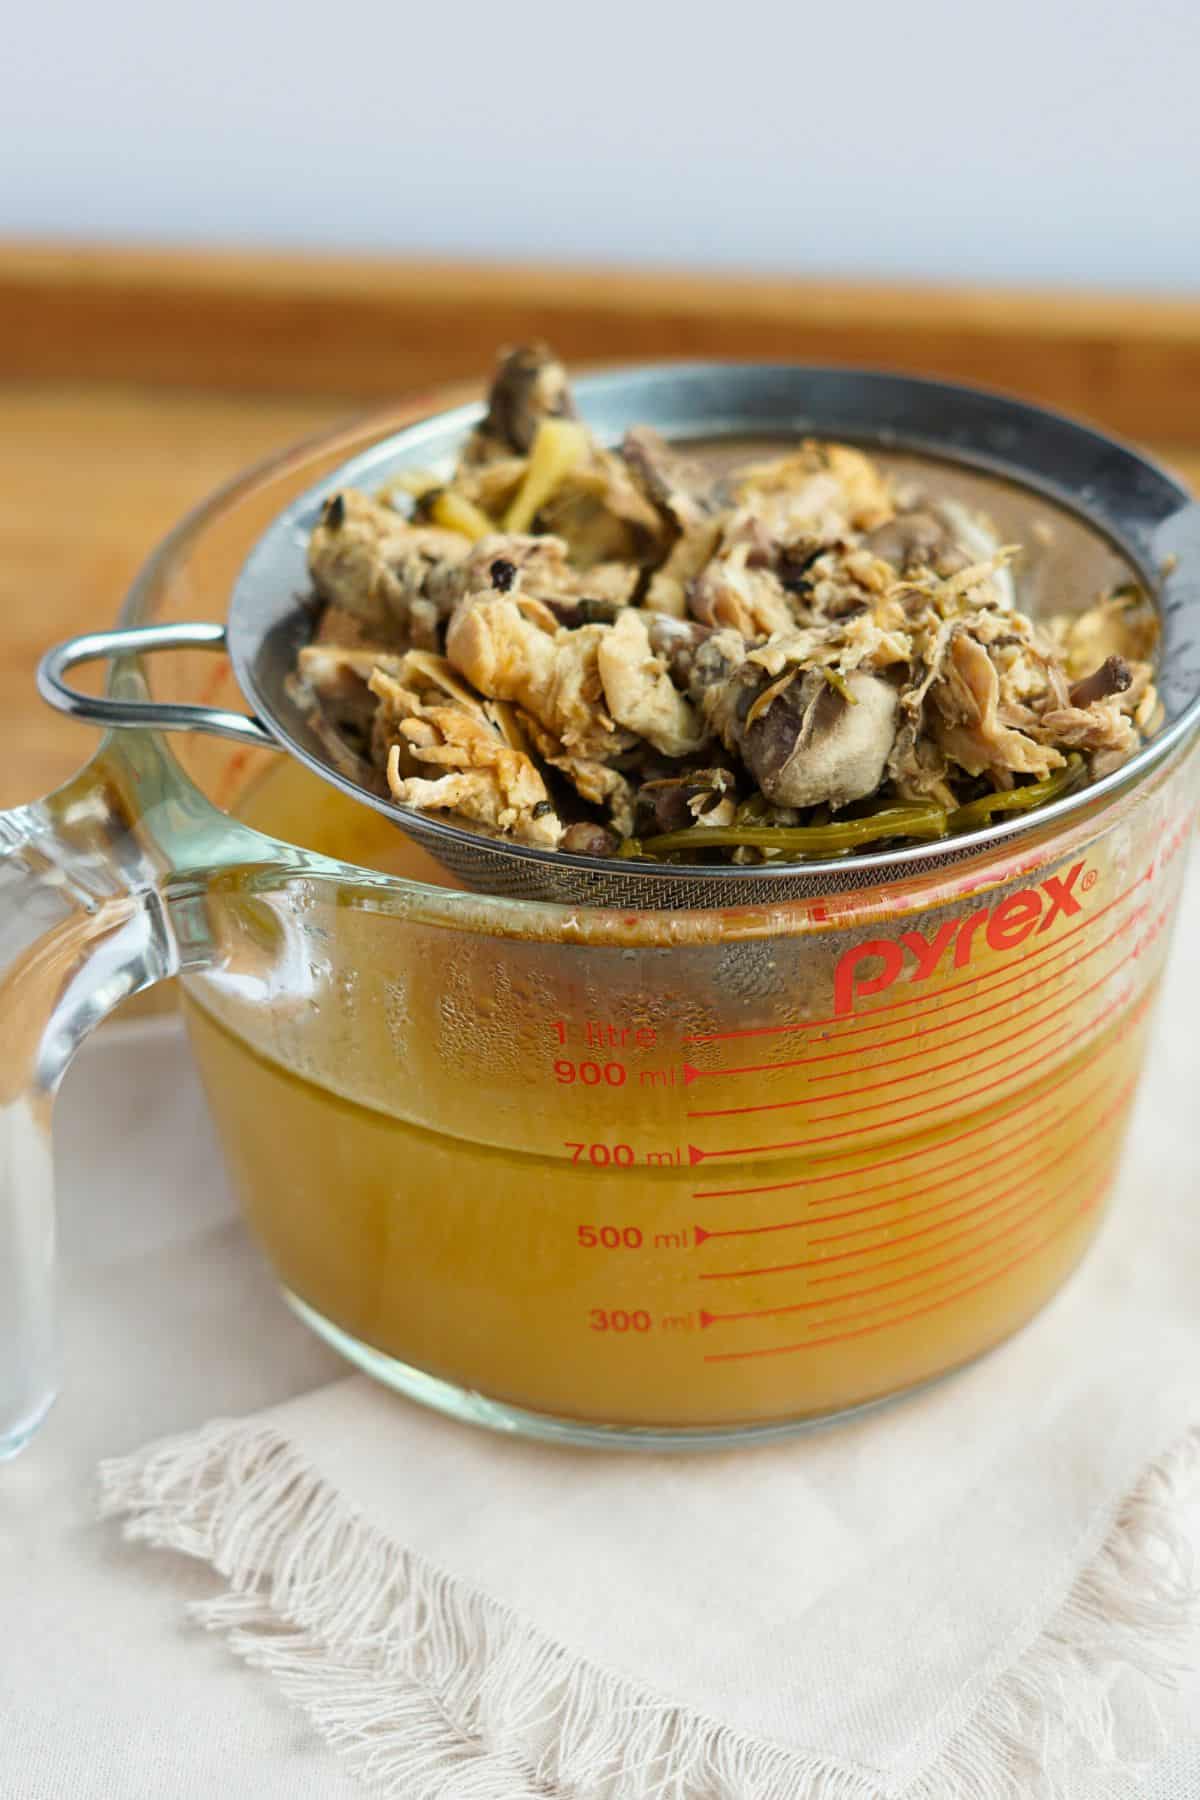
After 12-24 hours (or however long you wish), turn off the heat and allow the broth to cool slightly. Once cooled, strain the contents through a fine mesh strainer.
Use your liquid gold right away or store it in an airtight container in the fridge for five days or in the freezer for up to six months.
Check out the FAQs below to read my favorite ways to freeze bone broth.
Important Notes
- You’ll notice there is no salt in this recipe. Although salt enhances the flavor of the broth, I recommend leaving it out and only salting the recipes that use your bone broth. This helps you control the overall salt content and prevents your food from becoming too salty.
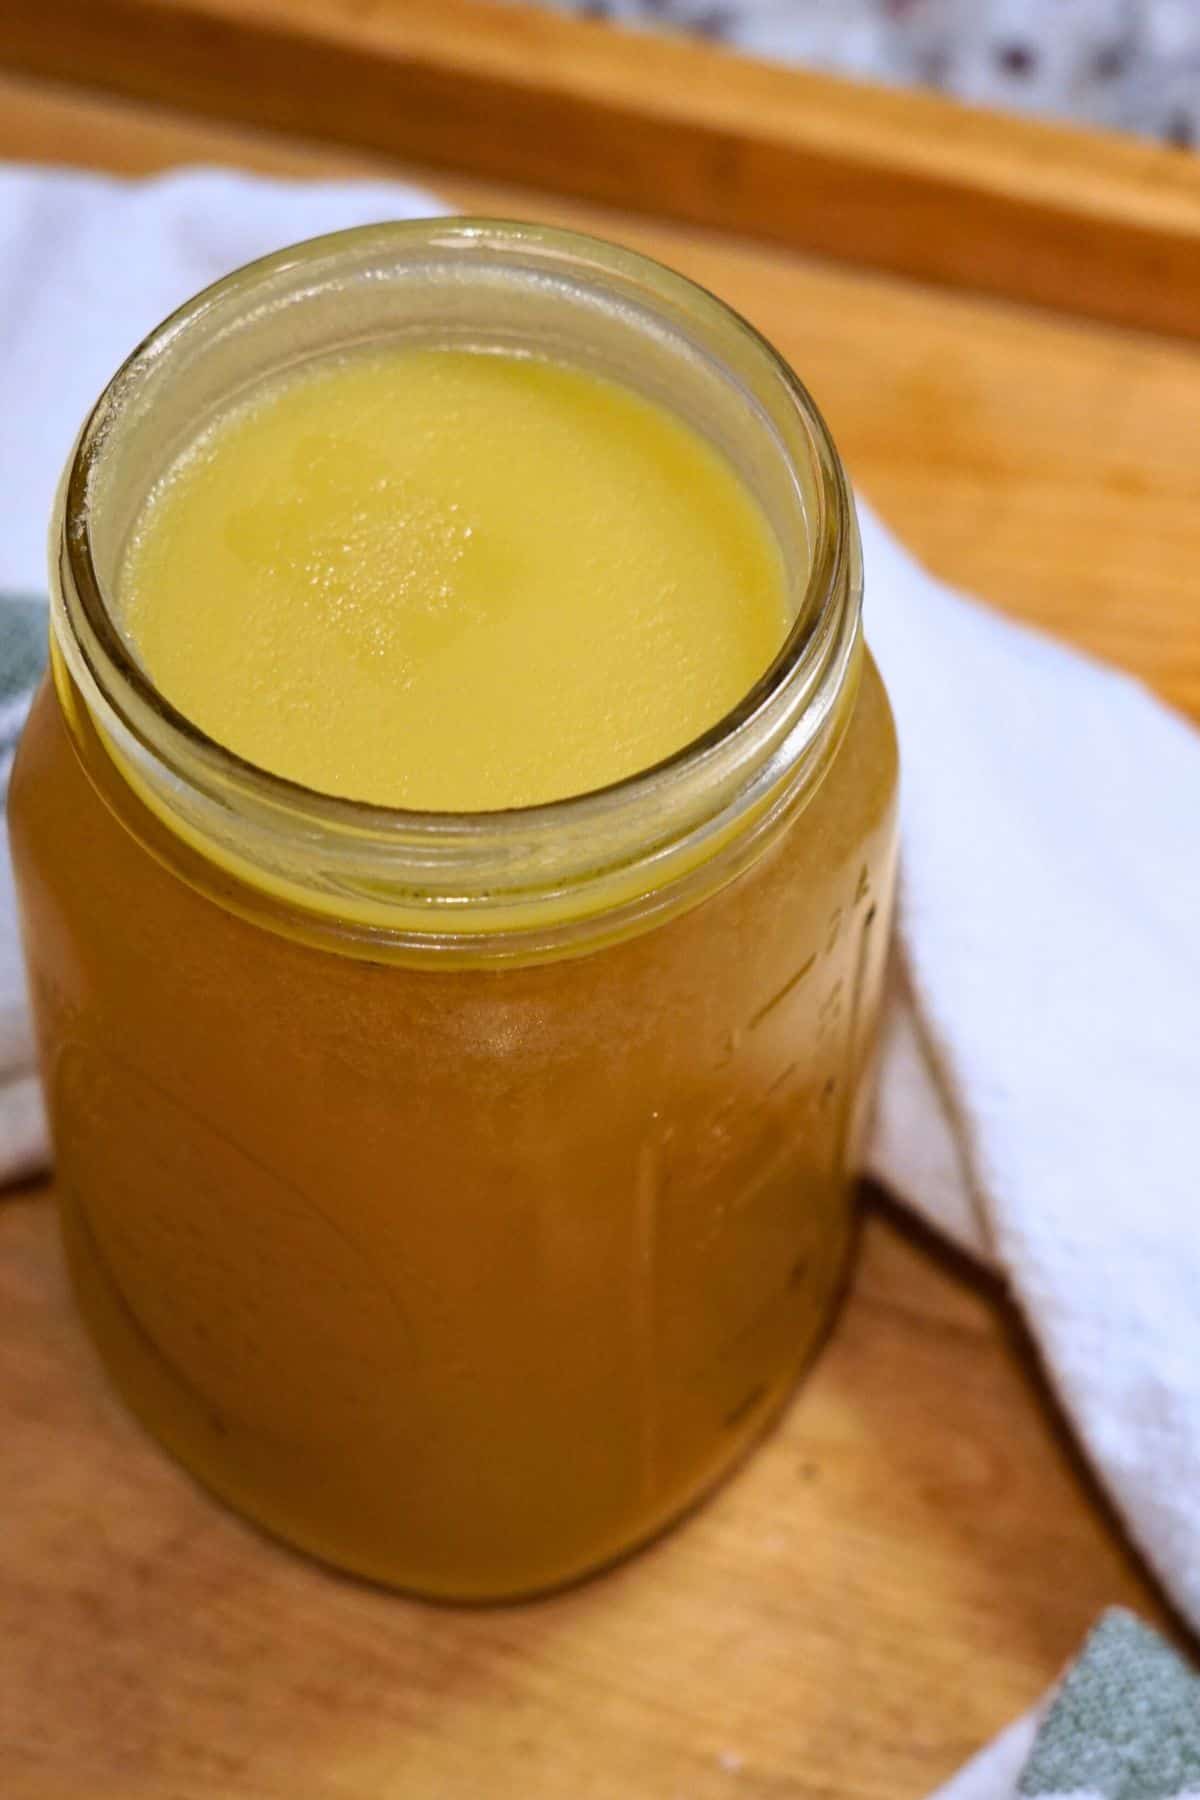
- Once the broth has cooled completely, you might notice a solid yellowish layer of fat on the top. You can easily remove this fat layer and discard it if you wish. If you choose to keep it, the fat will dissolve back into the broth once you reheat it. You can also remove the fat layer and use it as a butter replacement in your next recipe.
- If you used bones with lots of connective tissue, your cooled broth will likely be very gelatinous, resembling a light brown Jell-O. This is a good thing! It’s evidence of how much gelatin is in your broth (your joints, gut, and skin will thank you). It will liquefy when you reheat it. If your broth hasn’t gelled, don’t worry, it’s still an excellent bone broth full of nutrients. The gelatin amount in your broth will vary based on the bones you use and how long you cook them.
Tips and Tricks To Making the Best Bone Broth
- If you’re looking to use bone broth to heal your gut or ease joint pain, having a broth loaded with collagen and gelatin is the goal. To do this, seek out a variety of bones that have lots of cartilage and connective tissue. These include necks, feet, backbones, joints, knuckles, or oxtails.
- Try to find bones that are from organic, pasture-raised, or grass-fed animals (preferably locally raised). Although it might cost you a few extra dollars, it’s worth your while and gives you a higher quality product and flavor.
- If you’re using raw beef bones, I recommend blanching and roasting them first. This quick extra step removes any blood or impurities in the bones, which can sometimes make your broth look cloudy or give it an off-putting smell.
- Although the broth can be made entirely from just bones and water, adding vegetable and herb scraps enhances the flavor and nutrition of the broth. Next time you’re cutting up some celery, onions, or carrots, save the scraps in the freezer to use in your next batch of broth.
- Add apple cider vinegar or lemon juice. The acidity helps to break down the bones, releasing even more minerals and collagen.
- This is truly a low and slow recipe. The longer it simmers, the more flavor and nutrients it contains. For this reason, I prefer using the slow cooker. This way, I can simply turn it on low and leave it for a day.
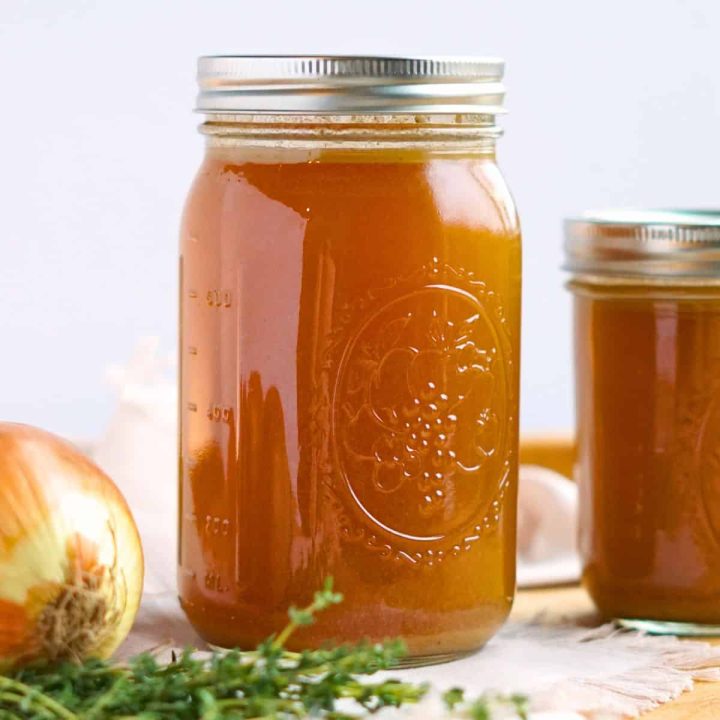
Homemade Bone Broth
Turn your animal and vegetable scraps into liquid gold by making homemade bone broth! It's one of the most nourishing foods you can consume, it's easy and affordable to make, and it's excellent for boosting nutrition in endless recipes (some would even surprise you!).
Ingredients
- Bones (chicken, turkey, beef, pork, lamb)
- Vegetables or veggie scraps (I prefer onions, carrots, celery, mushrooms, and peppers)
- Herbs (I like thyme, rosemary, or parsley)
- Half of a lemon
- 1-2 tablespoons apple cider vinegar
- Water (about 12 cups)
Instructions
1. Blanch + roast the bones (optional - recommended only for raw beef bones). Place your raw beef bones in a pot and add enough water to completely submerge the bones. Bring the pot to a boil over high heat and boil for 10 minutes. Remove from heat, drain, and rinse with fresh water. Add your bones to a baking sheet and roast in the oven at 450°F for 30 minutes, turning them halfway through.
2. Combine all the ingredients into a pot or slow cooker. Add the bones and other animal scraps, vegetables, herbs, and half of a lemon to a large pot or slow cooker. Add a splash of apple cider vinegar and enough water to submerge all the ingredients (typically about 12 cups).
3. Let it cook low + slow. Whether in a slow cooker or a pot on the stove, pop on the lid, set the heat to low, and allow the ingredients to simmer low and slow for 12-24 hours. It will reduce slightly over time, but if it ever reduces more than half of the pot, add a few more cups of water to cover the bones again, turn your heat down a bit, and continue to cook until you reach your desired flavor.
4. Strain + store. After 12-24 hours (or however long you wish), turn off the heat and allow the broth to cool slightly. Once cooled, strain the contents through a fine mesh strainer. Use your liquid gold right away in your next recipe or store it in an airtight container in the fridge for five days or in the freezer for up to six months.
Notes
- Blanching and roasting your bones are optional steps only recommended for raw beef bones. Blanching helps to remove the blood and impurities that can make your broth cloudy, and roasting helps to caramelize the bones, adding a depth of flavor to the broth.
- Although salt enhances the flavor of the broth, I recommend leaving it out and only salting the recipes that use your bone broth. This helps you control the overall salt content and prevents your food from becoming too salty.
- Once the broth has cooled completely, you might notice a solid yellowish layer of fat on the top. You can easily remove this fat layer and discard it. If you choose to keep it, the fat will dissolve back into the broth once you reheat it.
- If you used bones with lots of connective tissue, your cooled broth will likely be very gelatinous, resembling a light brown Jello. This is a good thing! It's evidence of how much gelatin is in your broth. It will liquify when you reheat it. If your broth hasn't gelled, don't worry. It's still an excellent bone broth full of nutrients. The gelatin amount in your broth will vary based on the types of bones you use and how long you cook them.
FAQs
Broth vs Stock vs Bone Broth – What’s the Difference?
For the average home cook, we often use these terms interchangeably. There are really only slight details that differentiate one from the others.
Standard broth is typically made by boiling meat and maybe some vegetables and herbs. It traditionally doesn’t include bones, so it’s thinner, clearer, and doesn’t contain much or any collagen or gelatin. Standard broth has a short cooking time, just enough to infuse the meat flavor into the broth.
Stock is traditionally made with any type of bones and maybe some attached meat. Veggies and herbs can also be added for more flavor. Since bones are used to make stock (as opposed to just meat in standard broth), it is often gelatinous once cooled, like bone broth. Additionally, stock is typically simmered for longer periods (6+ hours) compared to standard broth.
Bone broth and stock are almost the same, but what really sets bone broth apart is its 12-24 hour cook time (much longer than stock) and its use of bones with lots of connective tissue. Because of these two details, bone broth tends to have the most nutrition, the most delicious flavor, and the deepest, most golden color. It truly is liquid gold.
Which is Better: Chicken or Beef Bone Broth?
In terms of health benefits, they’re very similar. If you want to split hairs, beef broth typically contains higher amounts of protein and collagen, whereas chicken broth is richer in vitamins and minerals.
The main difference between chicken and beef broth is in the flavor and color. Chicken broth is more golden in color and has a milder, lighter flavor. Beef broth has a darker, more brown color and a stronger, richer flavor.
Each lends itself to different types of recipes. Try both and see which one you like best.
What Are the Best Bones for Making Bone Broth?
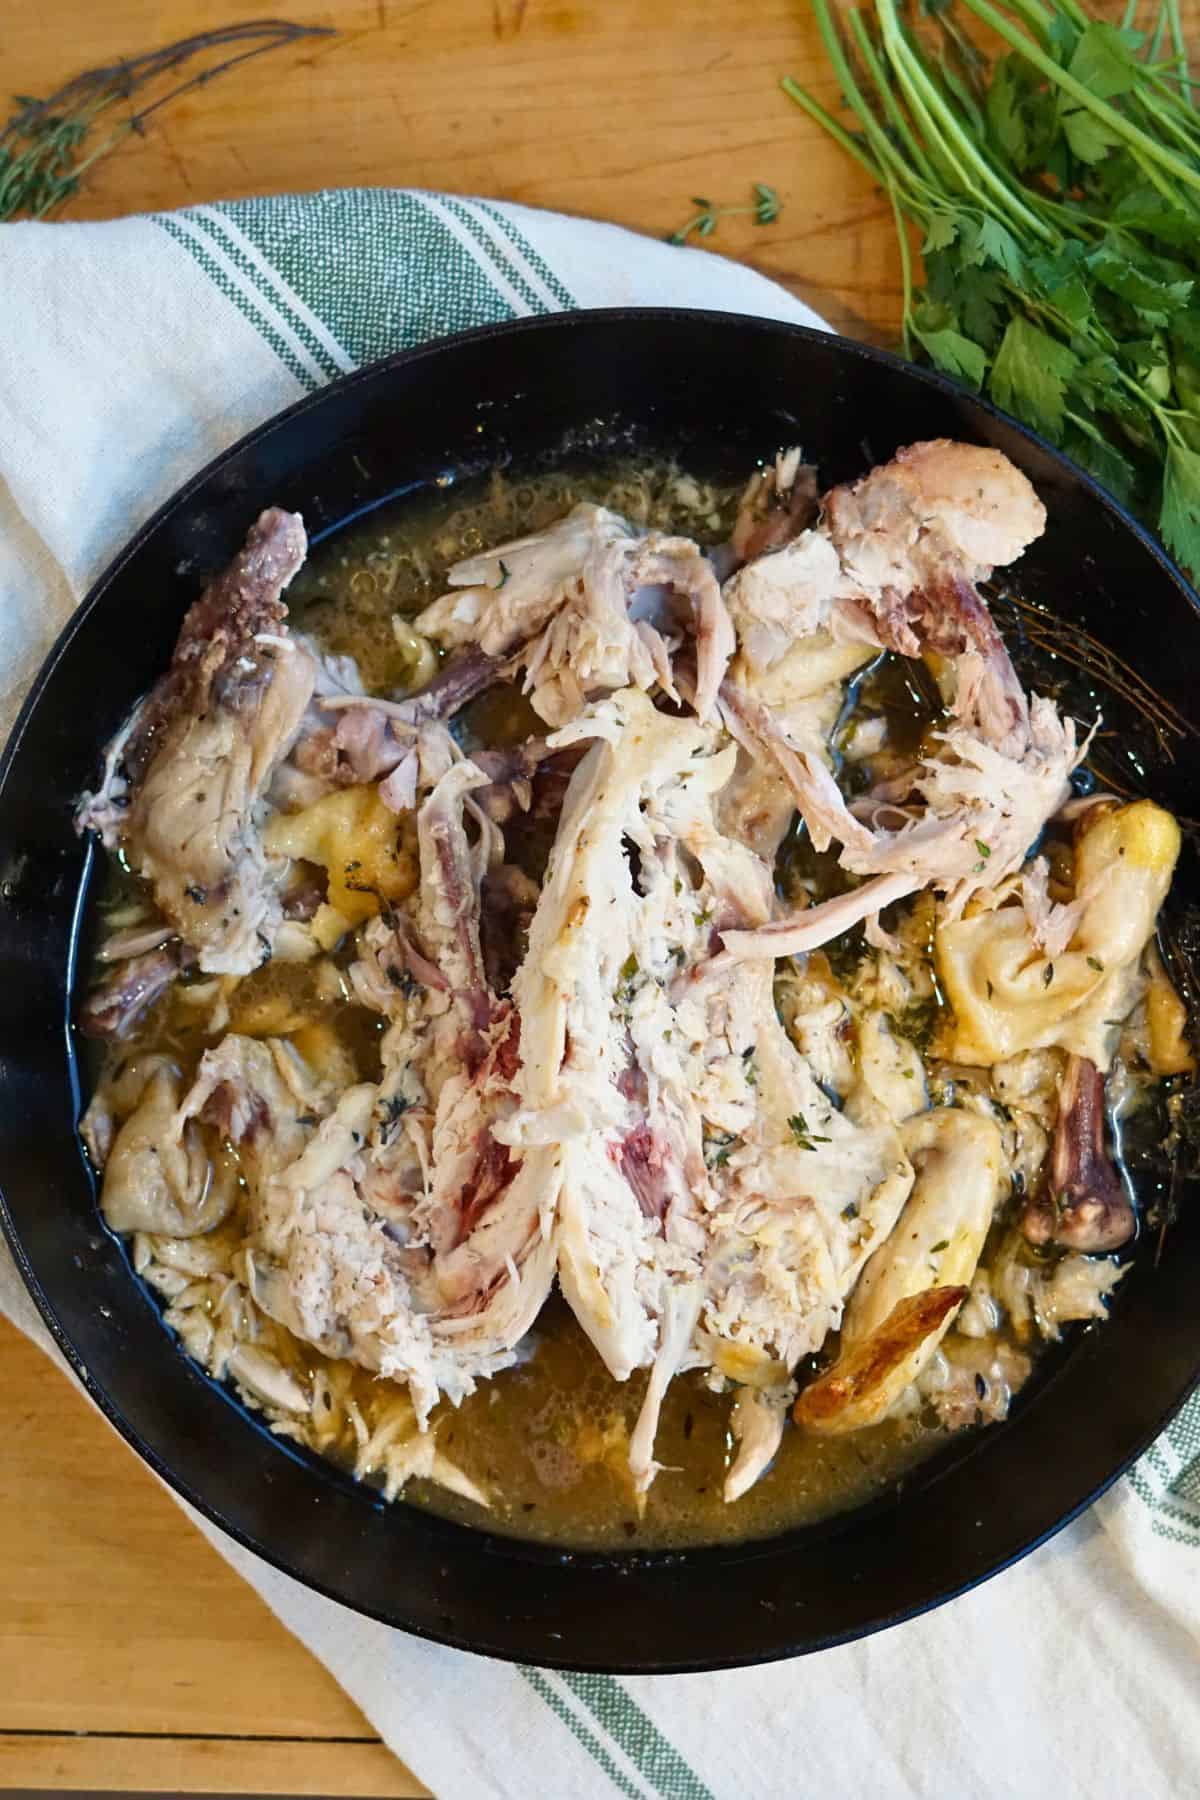
The best bones are the ones you have on hand! I frequently roast a spatchcock chicken and freeze the leftover carcass until I’m ready to make lots of broth.
If you want to get more technical and get the most collagen in your broth, I recommend using bones that contain high amounts of connective tissue, such as necks, feet, backbones, joints, and knuckles.
If you want a broth that is rich in protein, pick bones that are high in bone marrow, such as oxtails and femurs. Important: if you get your hands on a beef femur, make sure to ask the butcher to cut it into pieces, or else it’ll be too big to fit into your pot or slow cooker.
Try to find bones that are from organic, pasture-raised, or grass-fed animals. This step is worth the extra effort (and the few extra dollars) since it gives you a higher quality product and flavor.
Where Can I Find Bones For Bone Broth?
First, start with what you have on hand from what you cook often. I frequently cook whole chicken or bone-in cuts. I save all the bones in the freezer until I’m ready to make a batch of bone broth.
If you’re not already, buying whole animal parts or bone-in cuts saves you tons of money in the long run. They typically are cheaper per pound (they require less processing) and leave you with “free” bones.
If you’re in the market for “broth bones” that are rich in marrow or collagen, I suggest you first go directly to the source and check with a local rancher or butcher. They almost always have plenty of bones to sell at a surprisingly low price.
More recently, I have seen some grocery stores selling broth bones, mostly oxtails, in the meat section. I have even seen chicken feet sold in well-known grocery stores. You just need to look or call around.
Can You Make Bone Broth In An Instant Pot?
Yes, there are plenty of people out there who make bone broth in their Instant Pot, but I am not one of them. Admittedly, I do not own an Instant Pot, nor do I think it should be the preferred way of making bone broth.
To properly break down the bones and extract the most nutrients, you need to cook the bones at a low temperature for an extended period. The Instant Pot method typically involves cooking your bones at a high heat for only a few hours.
On the other hand, homemade broth is better than store-bought, no matter how you make it, so don’t let me stop you from using your Instant Pot if you wish.
Can You Reuse Bones To Make A Second Batch of Bone Broth?
Technically, yes. I do this from time to time. Once you’ve finished your first batch of broth, refresh the water and apple cider vinegar and cook again.
However, if you simmered your first batch for a considerable amount of time (which you should have), the second batch will have fewer nutrients and less flavor. It will still be a good broth, but not the best, in my opinion.
How Do You Store Bone Broth?
You can store your bone broth in an airtight container in the fridge for up to five days or in the freezer for up to six months.
I prefer to freeze my bone broth in either glass mason jars or quart-sized plastic yogurt containers. It’s a great way to recycle them and they stack well in the freezer. Also, they conveniently hold 3-4 cups of broth, which is the exact amount I often need for making soups, rice, etc.
*Important note about freezing in glass containers: Be sure to cool your bone broth before storing it in your freezer. Rapid temperature changes within the glass will almost certainly cause your jars to break, leaving you with a giant mess in your freezer.
Be sure to leave 1-2 inches at the top of the container to allow the liquid to expand while freezing.
I also freeze my bone broth in these large silicone ice cube trays. They make it convenient to quickly pop out and reheat small amounts of broth for adding to sauces, hot chocolates, lattes, or just to sip on when I’m feeling under the weather. A muffin tin would work well for this, too.

Whenever you want to use your frozen bone broth, I recommend taking it out of the freezer to defrost in the fridge for 12-24 hours ahead of time.
If you need to defrost it quickly, submerge your frozen broth in warm water to loosen it from its sides. Once it’s loose, dump it into a pot over low to medium heat to melt it.
My Favorite Bone Broth Recipes
- Healing Chicken Soup
- Mushroom Risotto
- Bone Broth Hot Chocolate
- Bone Broth Latte


Leave a Reply